Ambuscade is a instanced dungeon battlefield in which players team up against the monster-of-the-month.
Getting Started
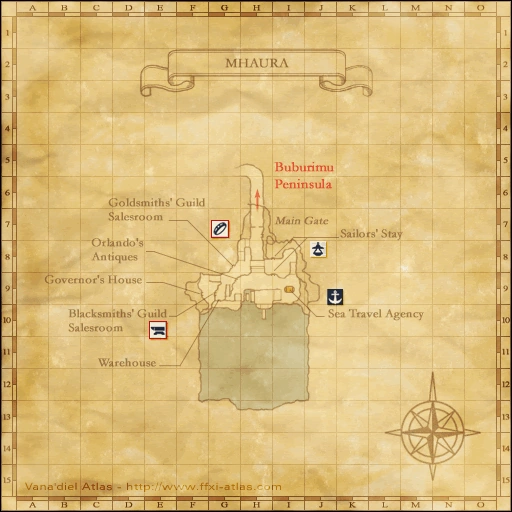
First, activate the Records of Eminence quest Stepping into an Ambuscade, then talk to Gorpa-Masorpa at Mhaura (G-9). To enter any Ambuscade battlefield all players in the party will need a Key Item. ![]() Ambuscade Primer Volume One grants entry to Intense Ambuscade, a more challenging encounter.
Ambuscade Primer Volume One grants entry to Intense Ambuscade, a more challenging encounter. ![]() Ambuscade Primer Volume Two grants entry to Normal Ambuscade, a step down in technical difficulty. "Intense" and "Normal" not only describe the relative challenge of the two battlefields, but alter the final rewards on completion.
Ambuscade Primer Volume Two grants entry to Normal Ambuscade, a step down in technical difficulty. "Intense" and "Normal" not only describe the relative challenge of the two battlefields, but alter the final rewards on completion.
Obtaining Key Items
You obtain the Key Items with Records of Eminence quests. There are two different quests per Key Item to activate: a non-repeatable daily quest, and a repeatable quest. The Daily objectives for both Volume 1 and Volume 2 require one experience-yielding monster be killed of the specified type. The repeatable objective for Volume 1 requires five kills, while Volume 2 requires 10.
The Ambuscade Tome
Once everyone in the party has the Primer key items, the party leader then registers the party at the Ambuscade Tome right next to Gorpa-Masorpa. At registration you choose the difficulty level of the selected Ambuscade type and inscribe your name into the tome, assigning you a number. Inscribing your name in the Ambuscade Tome gives you a page number. Page numbers are called in a zone-wide system message "Page ### of the tome flares up!" and the party leader can interact again with the Tome to enter the battlefield. The Tome also has an option to auto-transport your party to the battlefields as soon as your number is announced.
- Your Key Item is lost upon completion of a successful battle.
Rewards
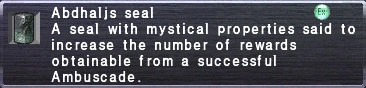
Successful completion of an Ambuscade battlefield rewards two forms of currency: Hallmarks and Gallantry. Hallmarks earned vary with the Key Item used to enter the battlefield and the selected difficulty level. Gallantry earned is based on the Key Item, Difficulty and the total number of party members, excluding Trusts. Solo players do not earn Gallantry. Using an ![]() Abdhaljs Seal
Abdhaljs Seal ![]() will triple the currency rewards for a single win.
will triple the currency rewards for a single win.
- Hallmarks, Total Hallmarks, and Gallantry are reset to zero every monthly content update.
Ambuscade Primer Volume One
Intense Ambuscade
| Difficulty | Hallmarks Earned |
Gallantry Earned 2~6 members |
|---|---|---|
| Very Difficult | 3600 | 300 ~ 1500 |
| Difficult | 2400 | 240 ~ 1200 |
| Normal | 1200 | 180 ~ 900 |
| Easy | 600 | 80 ~ 400 |
| Very Easy |
600 | 20 ~ 100 |
Ambuscade Primer Volume Two
Regular Ambuscade
| Difficulty | Hallmarks Earned |
Gallantry Earned 2~6 members |
|---|---|---|
| Very Difficult | 300 | 30 ~ 150 |
| Difficult | 200 | 20 ~ 100 |
| Normal | 100 | 10 ~ 50 |
| Easy | 75 | 5 ~ 25 |
| Very Easy |
50 | 1 ~ 5 |
Redeeming Hallmarks and Gallantry
Spend your accumulated Hallmarks and Gallantry with Gorpa-Masorpa, who offers a limited stock of rewards that is reset at every monthly content update, usually around the first or second Thursday of each month.
Ambuscade rewards are organized into materials used to reforge REMA weaponry, Skirmish Stones, JSE Capes and materials used to augment them, and Vouchers and Tokens redeemable for Ambuscade Armor and the materials required to upgrade it.
REMA Reforging Materials
The full list of REMA Materials purchasable with Hallmarks is always available.
REMA Materials purchased with Gallantry are available on a rotating schedule.
- Empyrean weapon materials are available January, April, July, and October.
- Relic weapon materials are available February, May, August, and November.
- Mythic/Ergon weapon materials are available March, June, September, and December.
Skirmish Stones
+2 Skirmish Stones are available every month, purchasable only with Hallmarks. Each stone costs 200 Hallmarks, up to a limit of 10 of each type.
JSE Capes
You can buy up to one cape per job for 500 Hallmarks each.
The materials for augmenting these capse can be bought with either Hallmarks or Gallantry, with different prices and stock limits.
Ambuscade Armor
Hallmarks can be used to purchase coupons good for 1 NQ piece of equipment, rotating between Tokens and Vouchers every month.
Gallantry can be used to purchase coupons good for 1 HQ piece of equipment, rotating between Tokens and Vouchers every month.
The special materials ![]() Abdhaljs Metal
Abdhaljs Metal ![]() and
and ![]() Abdhaljs Fiber
Abdhaljs Fiber ![]() are used to upgrade NQ armor to HQ, and HQ armor to HQ+2 armor. These materials are available either for Hallmarks or Gallantry.
are used to upgrade NQ armor to HQ, and HQ armor to HQ+2 armor. These materials are available either for Hallmarks or Gallantry.


Total Hallmarks
This special tally of total accumulated Hallmarks is used to obtain items and equipment from a special menu. Once an item is redeemed, it disappears. Total Hallmarks are not consumed, but represent an ever filling pool that grants access to more expensive rewards from this list:
- Total Hallmarks are the only currency accepted for Ambuscade Ring coupons. The coupons also alternate between Vouchers and Tokens every content update.
- 100:
 Abdhaljs Seal
 - 130: Monthly NQ Feet Voucher/Token
- 170: Super Reraiser
- 220: Monthly NQ Hands Voucher/Token
- 280: Remedy x 12
- 370: Monthly NQ Head Voucher/Token
- 480: Caliber Ring
- 620: Monthly NQ Legs Voucher/Token
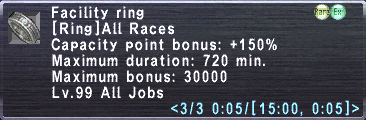
- 800: Facility Ring
- 1,050: Monthly NQ Body Voucher/Token
- 1,350: Monthly Ring Voucher/Token
- 1,800: Monthly HQ Feet Voucher/Token
- 2,300: Abdhaljs Metal
- 2,300: Abdhaljs Fiber
- 3,000: Monthly HQ Hands Voucher/Token
- 3,900: Abdhaljs Metal
- 3,900: Abdhaljs Fiber
- 5,000: Monthly HQ Head Voucher/Token
- 6,500: Abdhaljs Metal
- 6,500: Abdhaljs Fiber
- 8,500: Monthly HQ Legs Voucher/Token
- 11,000: Abdhaljs Metal
- 11,000: Abdhaljs Fiber
- 14,500: Monthly HQ Body Voucher/Token
- 20,000: Abdhaljs Metal
- 20,000: Abdhaljs Fiber
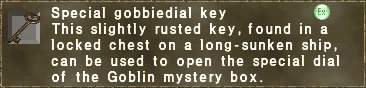
- 25,000: SP Gobbie Key


October 2018
Volume 2: Velkk
Face off against up to 4 Velkk
- Borzzetto Regent (PLD)
- Borzzetto Servitor (PLD)
- Borzzetto Servitor (DRK)
- Borzzetto Servitor (BLM)
The configuration of the enemy group depends on the difficulty
- Very Easy: The Regent is alone
- Easy: The Regent is joined by a BLM
- Normal: The Regent is joined by a DRK and PLD
- Difficult: All four enemies are present
- Very Difficult: All four enemies are present
All adds are susceptible to Sleep, Gravity, Stun, Paralysis and Silence.
When a Servitor dies, all remaining foes level up.[1]
After the BLM Servitor dies, the Regent will take 0 damage from Skillchains and Magic Bursts.[2]
The Borzetto Regent's normal auto attacks possess Additional Effect: Bind. One of its normal auto attacks has a very wide AOE range, making a clean opening pull challenging.
The four Velkk have a built-in damage reduction when attacked from the front.
All Servitors will use their respective SP abilities.
TP Moves:
Borzetto Regent
- Nobless Oblige - Levels up. Cures for 15% of total health. Triggered after receiving 25k damage in a single attack. Also uses this in retaliation for any Servitor being defeated. After any Servitor is dead, it will continue to use this move after receiving 40k damage in a single attack[3]. Nullified damage still counts towards this total.[4]
- Sovereign's Edict - Resets aggro on any remaining adds. Gains a Magic Shield for 15 seconds. Triggers Adds to use their SP ability.
- Croctastrophe - Severe 30' AOE Damage
- Velkkan Ambush - AOE Damage + Dispel
- Coming Through - Front AOE damage. Absorbed by 2 shadows.
- Galumph - 15' AOE Damage, Stun, Attack Down
- Merciless Mauling - Front AOE damage. Absorbed by 2 shadows.
Borzetto Servitor
- Saurian Swamp - (BLM only) AOE Damage, Bind, and Slow
- Saurian Slide - (WAR only) Physical damage, removes main and sub weapons and inflicts Encumberance. Absorbed by 2 shadows.
- Jungle Wallop - Severe AOE Damage, Bind, Silence and Amnesia
- Death Spin - AOE Damage, Knockback and Defense Down
- Velkkan Pygmachia - Single Target damage + Dispel.
- Glutinous Dart - Physical damage, Bind. Absorbed by 1 shadow.
Spells cast:
Borzetto Regent
Borzetto Servitor (BLM)
- -ja tier Elemental Magic
- Death
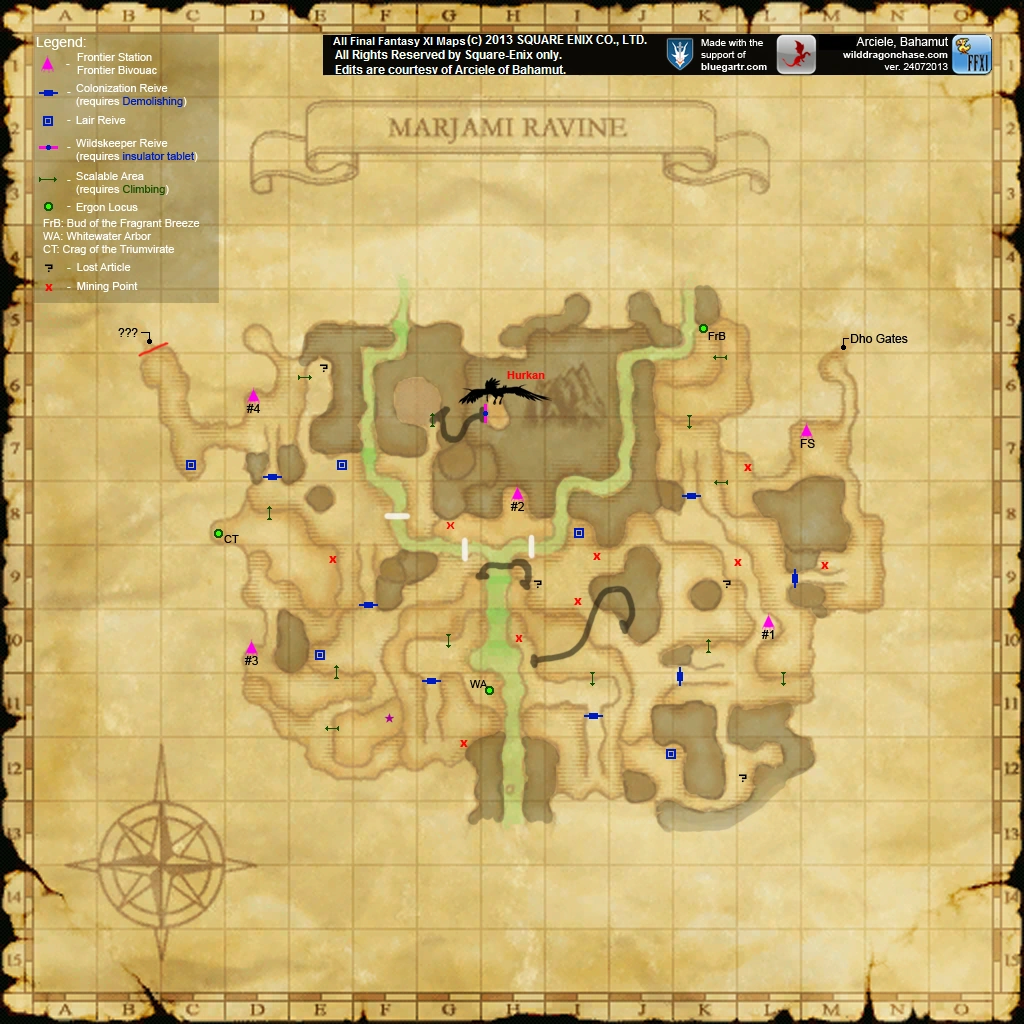
Where to get your Primer: Marjami Ravine (K-9). Take the Bivouac #1 waypoint and climb down to the lower level, or take the Bivouac #2 waypoint and enter the small tunnel at J-10, working your way to the Incursion entrance.
Volume 2: Undead
Face off against Lancer Jack, a Taru Fomor, assisted by undead summoned throughout the fight
- Lancer Jack (DRK, wielding a Pitchfork and wearing a Pumpkin Head)
- Spooky Skeleton
- Spooky Hound
- Spooky Ghost
Lancer Jack will summon helpers in 3 separate waves at 91%, 66% and 33% health, accompanied by a SP ability animation.
- Very Easy and Normal: Jack summons one helper per wave
- Normal and Difficult: Jack summons two helpers per wave
- Very Difficult: Jack summons 3 helpers per wave
Lancer Jack appears to have a Damage Taken reduction mechanic. Unknown what triggers it. Being a Fomor, the Banish line of spells should be expected to remove it.![]()
All adds are susceptible to Lullaby.
TP Moves:
Lancer Jack
- Double Thrust
- Raiden Thrust
- Penta Thrust
- Leg Sweep
- Trick or Treat - Single target Silence or Terror, steals buffs.
Spooky Skeleton
Spooky Hound
Spooky Ghost
Spells cast:
Lancer Jack
Spooky Skeleton
- None
Spooky Hound
- None
Spooky Ghost
- None
Where to get your Primer:
- Xarcabard (S) has many skeletons, corpselights and ghosts a short ride from the home point.
- Escha - Zi'Tah is swarming with undead north of Eschan Portal #4
- Fei'Yin has a handful ghosts near Home Point #1
References
Battlefield Archives
-

Gorpa-Masorpa -

Flamma Korazin Set -
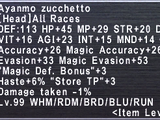
Ayanmo Corazza Set -

Hizamaru Haramaki Set -
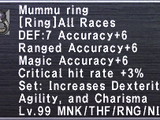
Mummu Jacket +2 Set -

Tali'ah Manteel Set -
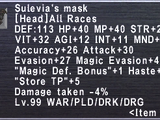
Sulevia's Platemail Set -
Flamma Korazin +2 Set
All items (44)


